There can be several reasons for a person to suffer from knee pain. Knee pain can be a result of a knee injury, arthritis, osteoarthritis, or strain on the muscles. But yoga can be helpful here as well. People might find it difficult to process how can yoga help manage or reduce pain.
But we are here with the easiest poses that you can try in the comfort of your house and feel the difference yourself. These yoga poses will help the joints work and relax and, thus, strengthen them to take the stress of daily movements.
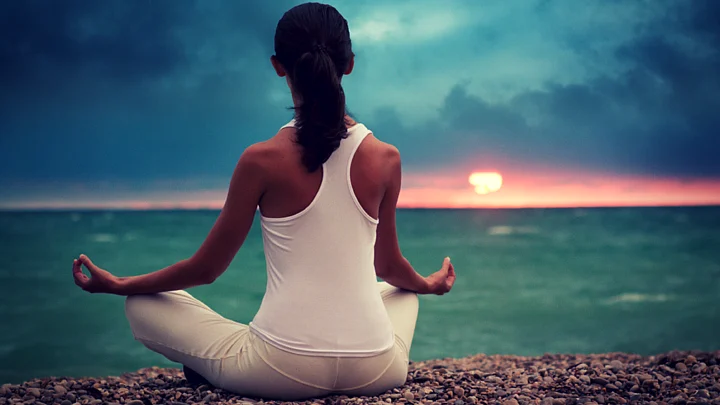
Make sure to try these yoga poses under supervision if you're new to it, and do not push yourself too much.
1. Chair Pose
Chair pose helps improve your balance and improve cardiovascular health and resilience. It primarily strengthens your core, thighs, and ankles. But it has also proved to be effective to improve posture and strengthen the joints. Here are the steps:
Stand straight with your feet wider than hip-width, and your arms at the sides.
Inhale, and lift your arms to the height of your ears, stretch them straight and hold them parallel with wrists and fingers extended.
Keep your shoulders down and spine neutral.
Exhale while bending your knees, keep your thighs and knees parallel. Lean your torso forward at a right angle with the tops of your thighs.
Keep your neck and head in line with your torso and arms. Hold the pose for 30 seconds to one minute.
2. Bridge Pose
The bridge pose helps regulate blood pressure. It calms the brain and alleviates stress. It is beneficial in managing mild depression and is good for abdominal organs, lungs, menstrual pain, fatigue, headache, and anxiety as well.
Lie on your back, place your hands at your sides, bend your knees, and your feet should be flat on the floor, close to your butt.
Press into your feet while you lift your hips and torso to create a straight line from your knees to your shoulders.
Hold the pose for up to 30 seconds, then lower your hips to the floor.
3. Triangle Pose
This is a classic standing pose that may not require a yoga mat. It may help alleviate backache, sciatica, and neck pain. It helps relax your spine, hips, and groin while strengthening your shoulders, chest, and legs. It may also help manage stress and anxiety.
This pose focuses on muscles like the latissimus dorsi, internal oblique, gluteus maximus, medius, hamstrings, and quadriceps.
Stand straight, and place your feet about four feet apart.
Your right toes should face forward, and your left toes should be spread out at an angle.
Lift your arms parallel to the floor and place your palms downward.
Tilt slightly forward and hinge your right hip to come forward with your arm and torso.
Bring your hand to your leg, a yoga block, or onto the floor.
Now slowly extend your left arm towards the ceiling.
Look up, forward, or down.
Repeat the pose on both sides and hold it for a minute.
4. Child's Pose
The child's pose may be helpful for your hips and back, relaxing them and allowing them to stretch.
In this pose, you will have to kneel and sit on your knees. Lean forward while keeping your buttocks on your heels, and rest your forehead on the floor. Place your arms next to your legs, palms facing up.
Try to inhale and exhale, slowly and deeply. Complete at least eight breaths. If you find it difficult to rest your forehead on the floor, give this a try. Kneel and sit on your knees with your knees slightly apart. Lean forward and fold your arms in front of you on the floor. Now rest your forehead on your arms and continue inhaling and exhaling.
5. Camel Pose
The camel pose helps the front body stretch out, and the parts involved include the chest, abdomen, and quadriceps. Practice the pose like this:
Bend forwards to your knees and place your legs hip-width apart. Keep your hips over your knees, squeeze your thighs toward each other, and inhale while you engage your belly. Then reach your tailbone toward your knees and create a space between your lower vertebrae.
Inhale again while you lift your sternum and draw your elbows back, toward each other, behind you. Let the ribcage expand.
The chest should be raised, the core engaged, and the chin tucked in. Press the heels of your hands into the heels of your feet while you drape the fingers over the soles.
Lift your shoulders and let the trapezius muscles between the shoulder blades rise up and cushion the cervical spine. Extend the head and neck backward.