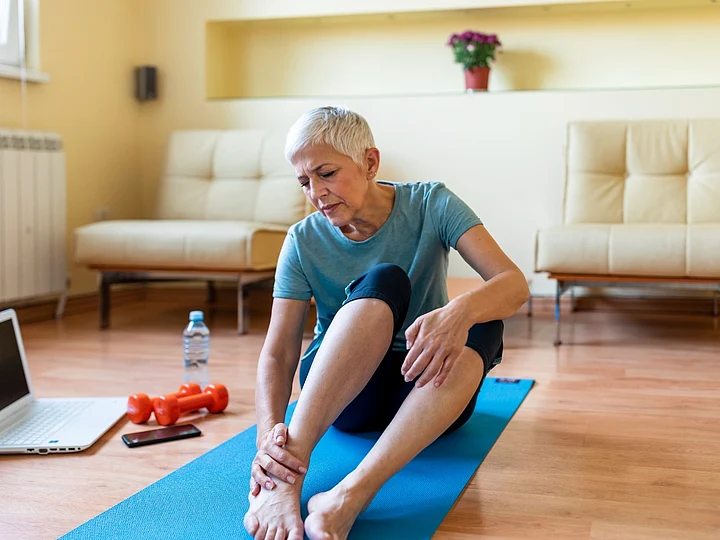
Yoga is a form of exercise that keeps both mind and body fit and healthy. It is a great form of exercise that helps us stretch our hamstrings, calves, ankles, plantar fascia, and toes further helping us relax our tight muscles and find relief for aching muscles and joints.
Have a look at the list of poses that can help you stretch and relax your ankles.
1. Forward Facing Dog
This is one of the traditional yoga poses in which you bend forward. It can be restful and rejuvenating. This pose can help relieve back pain and sciatica. It helps manage imbalances and improves strength.
The pose focuses on muscles like hamstrings, deltoids, gluteus maximus, triceps, and quadriceps. You should:
Get on all fours.
Your hands should be aligned under your wrists and your knees under your hips.
Press into your hands, tuck your toes, and lift up your knees.
Move your sitting bones slowly up toward the ceiling.
Slightly bend your knees and lengthen your spine and tailbone.
Your heels should be slightly off the ground.
Press firmly into your hands and distribute the weight on both sides of the body.
Pay attention to the position of your hips and shoulders.
Your head should be in line with your upper arms and your chin tucked in slightly.
Hold this pose for at least 1 minute.
2. Tree Pose
This pose will give you a sense of grounding while helping you improve your balance, and strengthen your legs, and back.
If you want to practice the tree pose, follow these steps.
Let your right foot high up on your left thigh. Place the sole of the foot flat and firmly.
Your left leg should be straight while you try to find your balance.
Inhale deeply and raise your arms over your head while bringing your palms together.
Keep your spine straight and take a few deep breaths.
Slowly exhale while bringing your hands down and releasing your right leg. Back in the standing position, repeat the same with the other leg.
3. Chair Pose
Chair pose helps improve your balance and improve cardiovascular health and resilience. It primarily strengthens your core, thighs, and ankles. But it has also proved to be effective in improving posture and strengthening the joints. Here are the steps:
Stand straight with your feet wider than hip-width, and your arms at the sides.
Inhale and lift your arms to the height of your ears, stretch them straight, and hold them parallel with your wrists and fingers extended.
Keep your shoulders down and spine neutral.
Exhale while bending your knees, keep your thighs and knees parallel. Lean your torso forward at a right angle with the tops of your thighs.
Keep your neck and head in line with your torso and arms. Hold the pose for 30 seconds to one minute.
4. Child's Pose
The child's pose may be helpful for your hips and back, relaxing them and allowing them to stretch.
In this pose, you will have to kneel and sit on your knees. Lean forward while keeping your buttocks on your heels, and rest your forehead on the floor. Place your arms next to your legs, palms facing up.
Try to inhale and exhale, slowly and deeply. Complete at least eight breaths. If you find it difficult to rest your forehead on the floor, give this a try. Kneel and sit on your knees with your knees slightly apart. Lean forward and fold your arms in front of you on the floor. Now rest your forehead on your arms and continue inhaling and exhaling.
5. Mountain Pose
Mountain Pose is known to enhance the body awareness, correct imbalance, and improve alignment, which reduces your risk of injury. Follow these steps:
Stand in such a way that your big toes touch each other.
Lift and fan out your toes and drop them back to create a solid wide base.
Root down your feet and calves down into the floor.
Ensure that your quadriceps are engaged, then draw them upward. Your kneecaps will rise.
Rotate both thighs inward.
Try to maintain the natural curves of your spine.
Draw the belly slightly in, tone your belly.
Widen your collarbones and make sure your shoulders are aligned with your pelvis.
Shrug your shoulders up to your ears and roll them back to release your shoulder blades down your back.
Hang your arms naturally with the elbows slightly bent.
Hold the pose for 5 to 10 breaths while you hold yourself in this position.

